News and Events

Keep up to date with Steve Nurse's designs and 3d printing.

Monday 30 August 2021

Platonic Solids from Playing Cards


1.

Hi

As mentioned in my last post, while working out how to make a tessellation out of cd's, I stumbled upon a pattern that could be altered slightly to make constructions from playing cards. To jump from the pattern I created above (1).....


2.


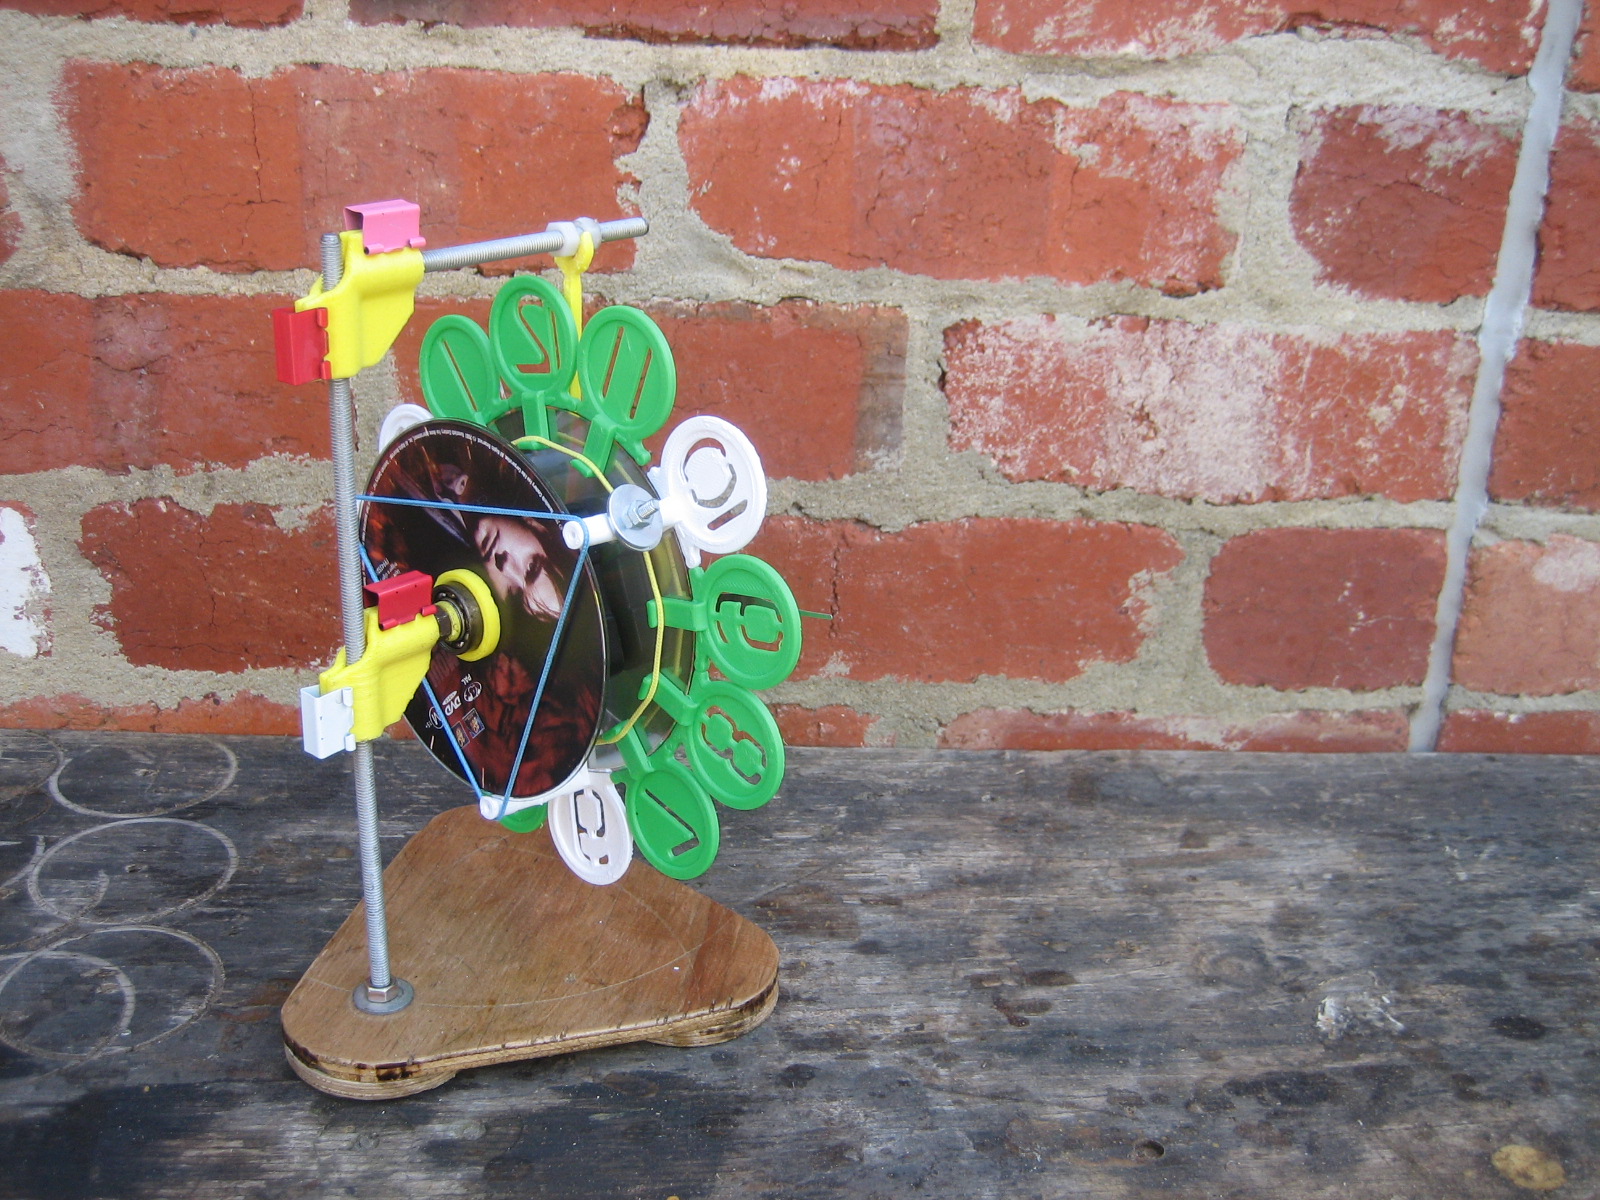
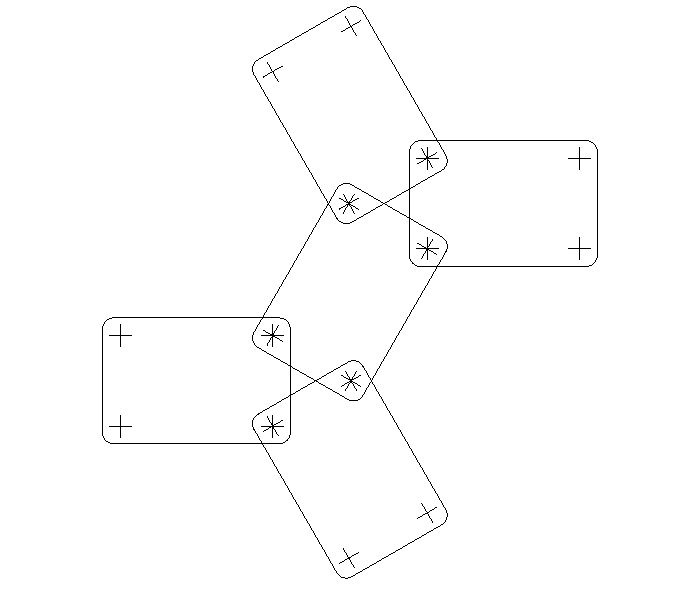
 to the platonic solids pattern, consider that each corner of a rectangle in 1. has a hole and a bolt in it. Then transfer that pattern to some playing cards by punching a hole with a sharpened metal rod. Something like 2) is the result. At that point I actually made something instead of just cadding it, and

3.

This was the result. 3. can in turn into a tetrahedron

4.

5.

6.

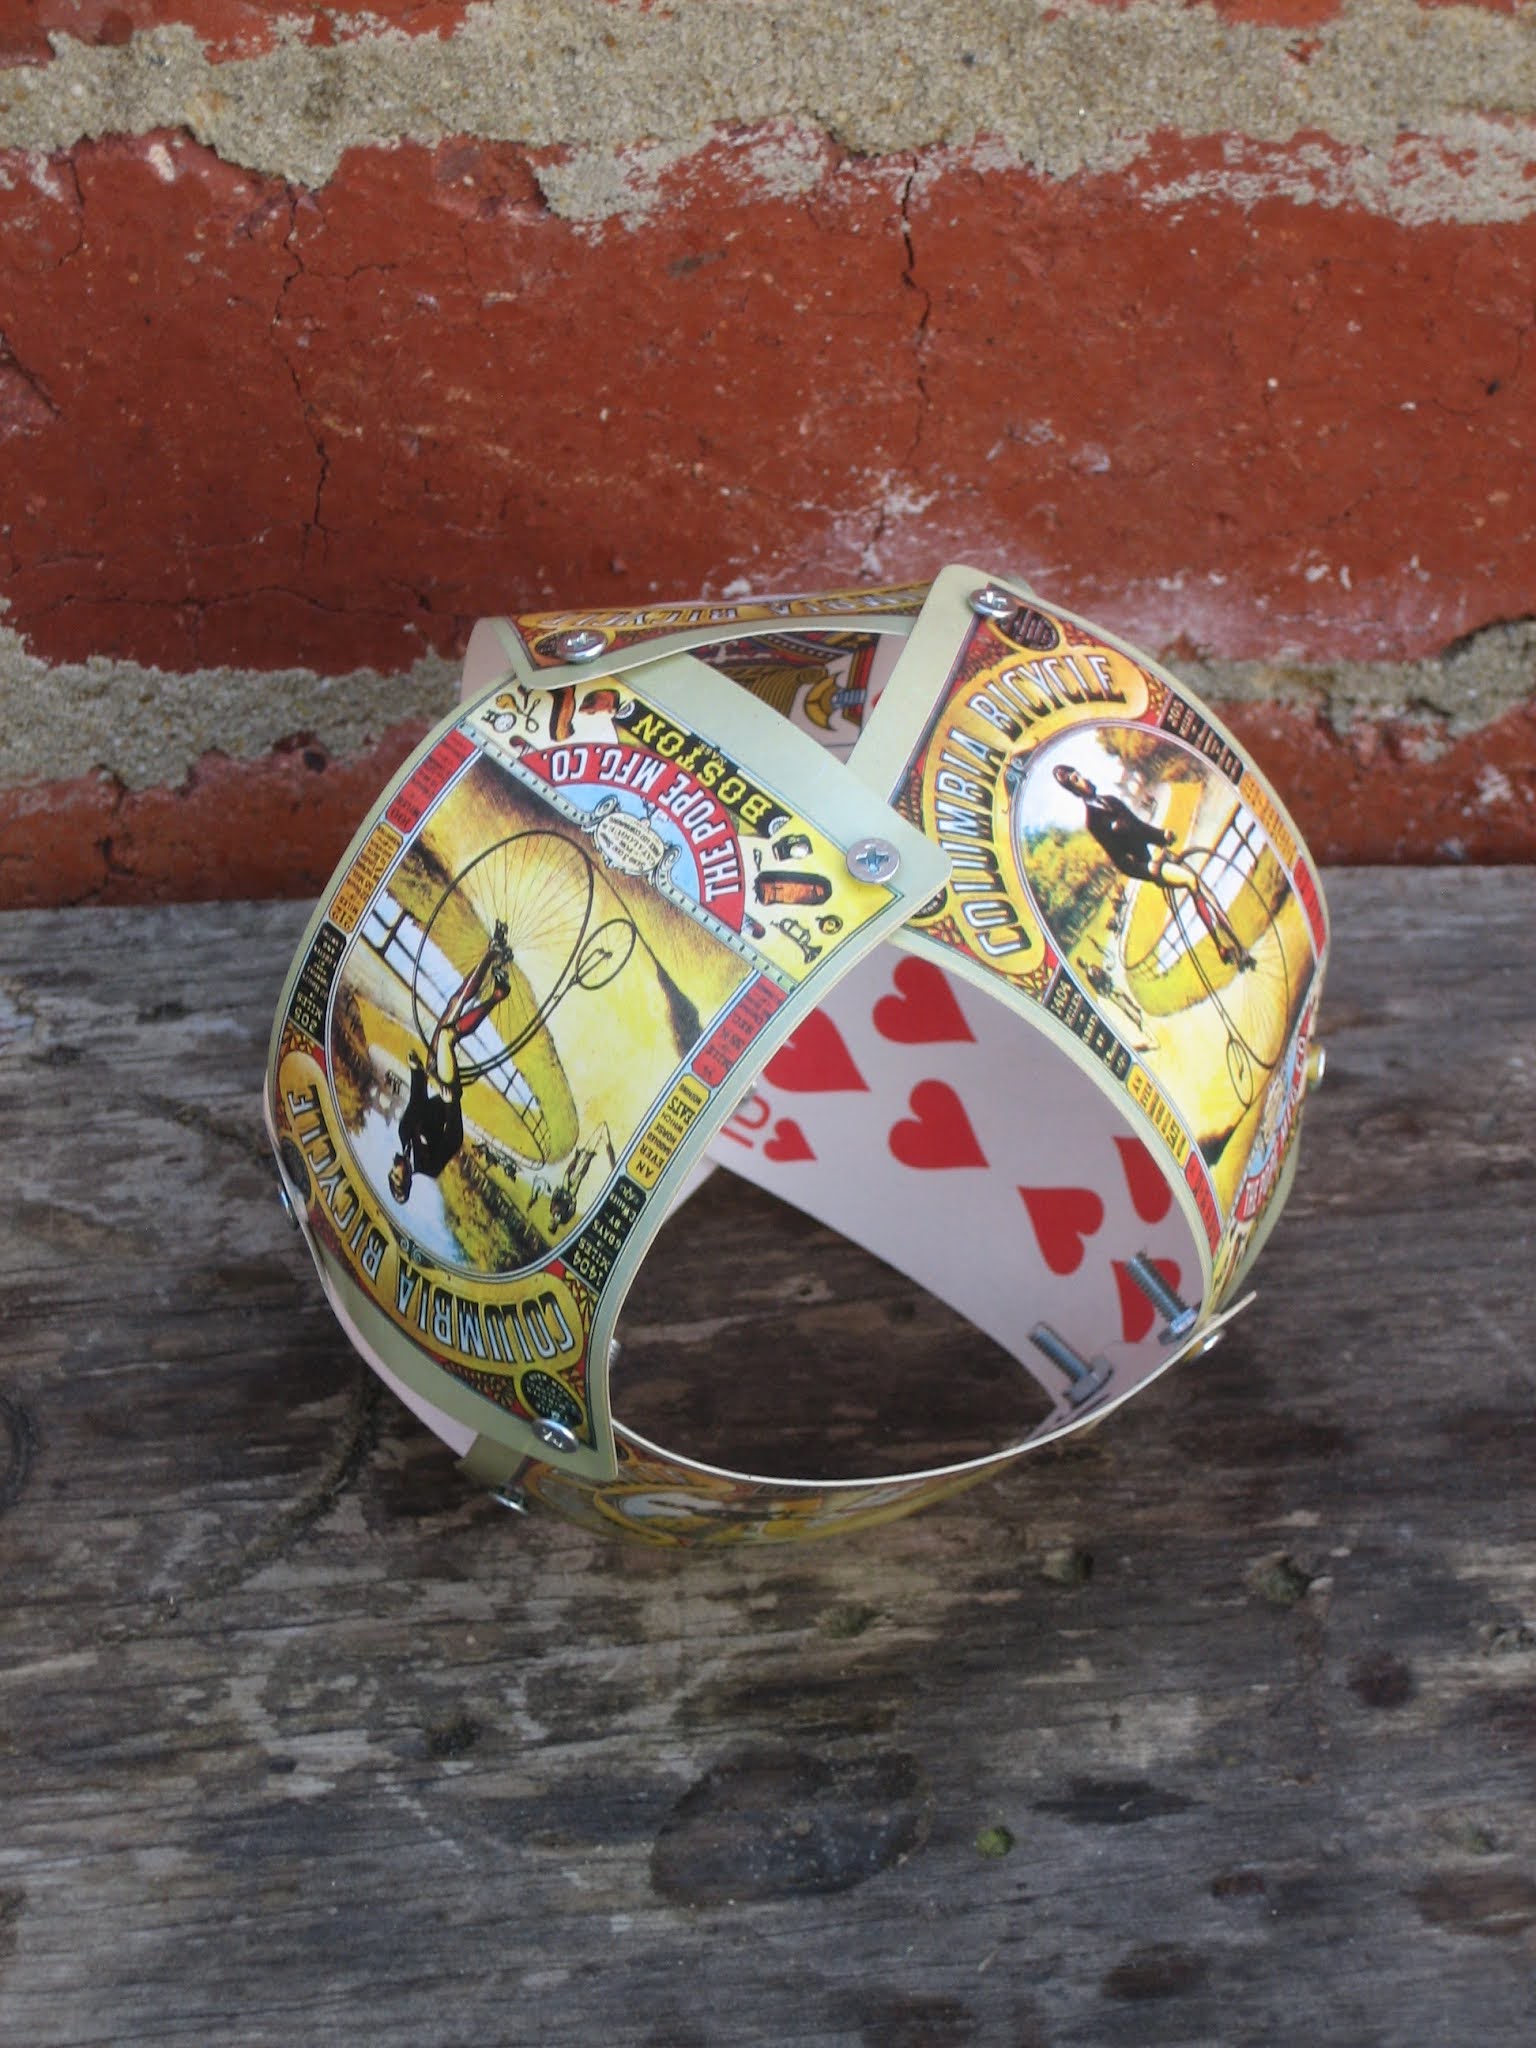
as shown in 4, 5 and 6. After that, all the the other polyhedra can be made, ie cube, octahedron, dodecahedron and icosahedron.  These are the cantellated forms of the solids. Something of this nature is shown here and here on Pinterest.

7. Cube / Octahedron layout, nice and neat.

8. Octahedron

9. Starting the dodecahedron net. Note Snoopy as Joker!

10. Dodecahedon

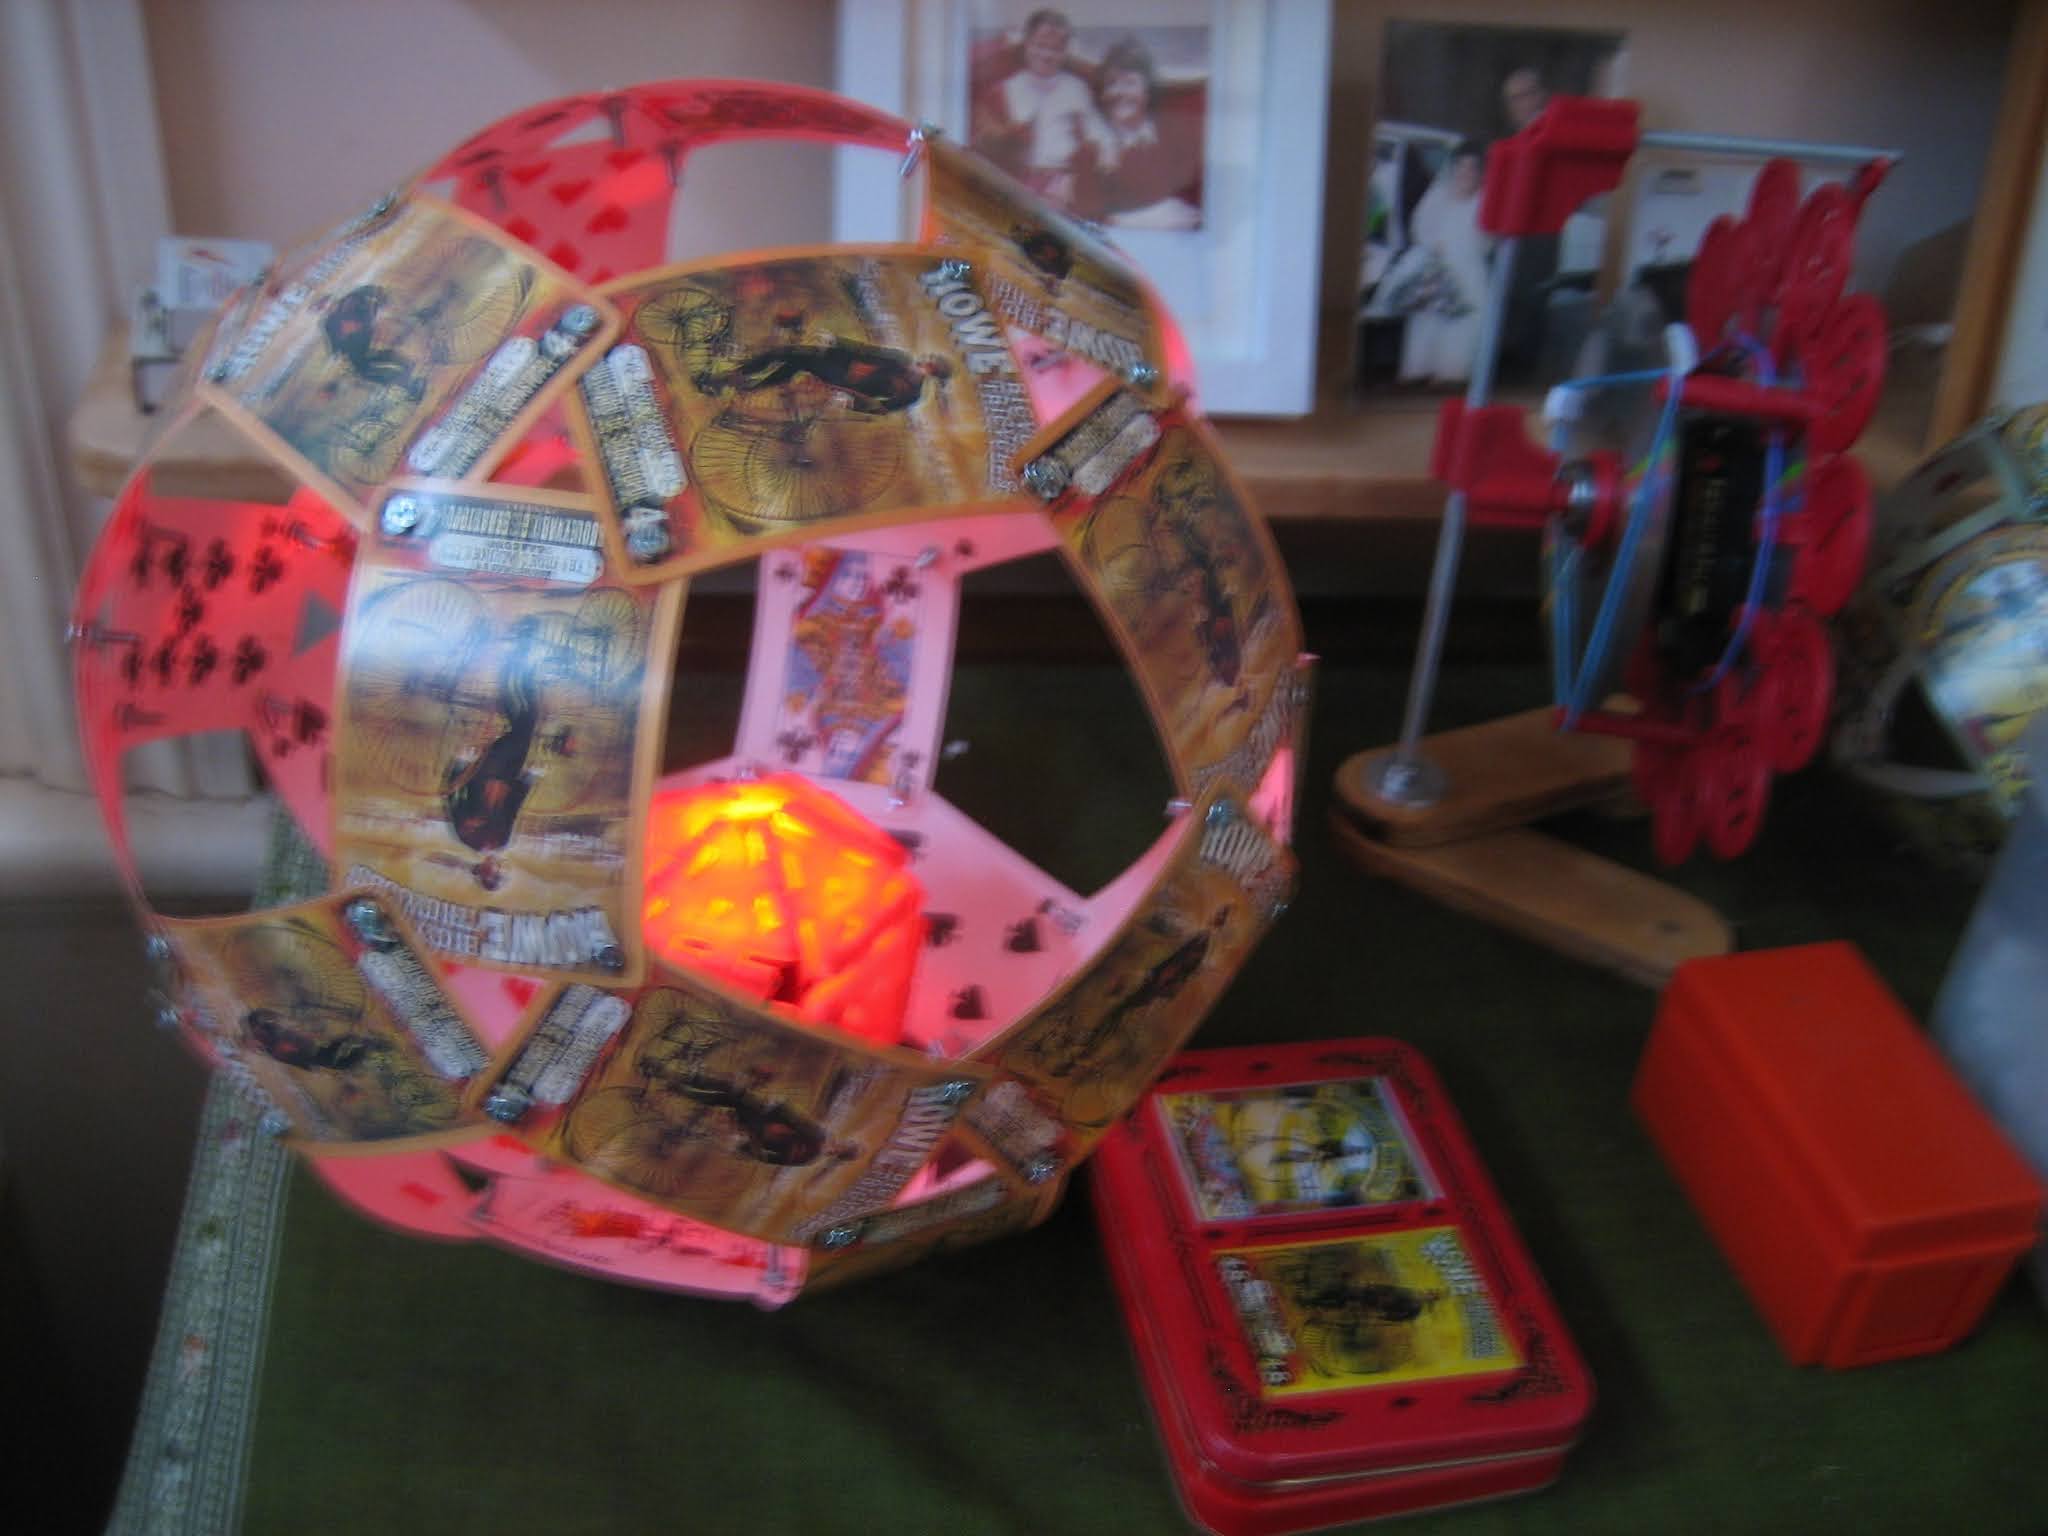
11. and with added atmosphere! In the centre is a "candle", see here.

As 8 and 10 are cantellated they are geometries of a form between cube / octahedron and dodecahedron / icosahedron.

Technical details: the playing cards are cheap and flexible, and with the help of a small jig and a sharpened bike spoke, I poked a hole in the corner of each card. Holes are 7mm from each edge and spoke holes were enlarged to 3mm diameter with a nail.  Fasteners are m3 x 12 steel screws and nuts, but a slightly shorter m3 nylon bolt might do a better job. 

12. Parallel architecture, another dodecahedron, see link below.


Will post more later, I plan to make the cube and icosahedron. There are similarities between these nexorade card structures and the diy nexorades I developed previously, see pic 12 above and this link. For example, these card structures can join each other at node points. Its very simple!

Regards

Steve Nurse 


Friday 27 August 2021

More cd turbines and tessellations


1. Another form of the 4-blade tessellation discussed in the previous post. Here it is presented as a monohedral tiling.

2. So I had made a 4-blade tiling and was curious as to what could be done with a 3 blade version.

3. Initially, I couldn't figure out how to make an interesting tiling out of this, and I started laying it out in 2d cad with circles. But even that was confusing, and I came up with this pattern, which substitutes rectangles for circles. The different hub colours represent hubs with clockwise or anticlockwise blade placements. This bought to mind a sort of nexorade polyhedon that could be made with playing cards. I couldn't find any reference to these on the net but found a few pics on Joe Rohan's pinterest. Will report more on this later.

4. Here is the same pattern with sneaky infiltration of a hex hub.


5. Here is the same arrangement as 3 with circles and no hubs, it is a dihedral tiling.

6. With hubs, 5 looks like this, something that is makeable.

7. And I went big on this! Initially I had gathered up twelve 27" bike wheels / rims with the idea of making each rim the face of a dodecahedron. But when the overlapping circles idea came up I put this together instead.

8. There are 3/16" screws holding the rims together. The side walls of the rim are tucked into each other.  


9. A for-real version of the pattern shown in 6, and using the red and white hub parts shown in 2

10. Another view.

11. Obverse

12. Seen from this angle, 1/3 of the cds in the tiling make a series of steps. This is something that could be explored in 3d cad with different angles and shapes in the same sort of arrangements.

13. Another view


14. Here is my attempt at a qualitative generalistion of cd turbines /  tessellations. This page can be used as a reference, and deals with 2d circle packing. What happens when flat cylinders are forced together? Assume the cylinders' central axes are on the vertices of a shrinking regular polygon, and the preference is for the cylinders to remain in a flat plain. A: The cylinders are apart. B: Cylinder edges touch, and the cylinders have to twist or move to get closer. One tidy option is for all cylinders to rotate about the red lines C: Choosing the option of twisting along the red lines, these are the resulting patterns for very flat 2d cylinders which can be modeled using paper. D: Thicker cylinders can't reach the centre point and this series of sketches shows the hard limit when the cylinders are twisted through 90 degrees.

Hi

This post is continuing my at-home, in-lockdown exploration of some 2d and 3d  geometry from here and here. Will post more later, and welcome your comments and emails! Contact details are at the bottom of my home page.


Regards

Steve Nurse


Tuesday 24 August 2021

Rotating face clock part 3


Where I had got to last time

New bearings for clock 1, I have used the common 8 id x 22od x 7mm 608 bearing, common on small-wheeled scooters and in my shed.
Bearing supports are tapped by the thread.


Clock 1 face. It's 12:50, the hour hand points to the time but its always vertical and the face rotates. Minute hand points to the minutes but that moves around all the time. The 12 is white and that helps give some sense of the face position, ie the time. The base is a bit like the hands of a clock.
Clock 1 from the back,


and from the side. Numbers 12, 4 and 8 have extra bosses at the back. These hold a second cd parallel to the face, and the bearings are mounted to the hole of the 2nd cd. Althread rod is used to hold the clock up, ans the bearing shaft and to make the overhead rod restraining the hour hand. The boss on the 12 has a spot for mounting a bolt and a few washers which are counterweights, balancing out the weight of the the battery.
I plan to use some bike rims in a construction project, so have disassembled 12 of them recently which liberates the hubs, the spokes, and the spoke nipples. Here is a hub used as a turbine spindle. I had tried to drill the side holes out to fit screws through them and this proved impossible. So I used washers and screws to mount the turbine as shown.
Then I worked out that if the flanges are hard, the middle must be soft, and I could drill it, or as shown work it in a lathe. The idea was to shorten the hub to use in a clock.

After cutting the flanges off, I needed to hold them together roughly parallel to braze them back together, and ended up tapping them through the centre, then using an m10 bolt as a jig. This is for clock 2.


Cutting out the back of clock 2. I did some plans in 2d cad for this and traced them onto the plywood.


Here it is seen from the front. 12:44! The hour hand is pointing straight up and has a small white bike spoke holder and bike spoke to restrain it.

Side

Back


Hi, I have been working on the face rotating clocks for a few weeks now and I am very happy with the results. A couple of previous projects managed to feed into this and I've been able to add a few new features. Will add more later but meanwhile here are a few related links.

My Uncle Eddies Clock

Podcast Simon Winchester with Richard Feidler

Sunday 22 August 2021

Some Neighbourhood resilience

Scarecrow in a nearby street. A few locals are putting them up as a distraction and conversation starter,


this is another one Christine is checking out.


House owner having a chin wag near his scarecrow.


This is my version of a scarecrow out the front of our house. One of the cd's fell off this 4-cd, bicycle-hub mounted turbine, making it a 3 cd pendulum,


and I was going to replace it with this newly minted equivalent, but


another cd fell off so harmony was restored to the world and it started rotating again.


A locally made Bluebower letterbox, doing what it does best, a bit of topical satire.


These books are from the 1890s and were in a local bookswap cabinet. They are with me now but I think I will put them back, they are 400 page massive tomes with small type and I won't read them.

My bike at left, I have put some A4 posters on the side advertising my book, and the bike includes the special brakes I designed and built. So I went out trying for effective advertising pics but the only pic I got was this one with 2 slightly bored dogs. You gotta laugh.


But this card was nice, I felt like a year 12 student praised by a teacher when I got this note from local full time author Carole Wilkinson.
And this is Rita with one of the cd turbines I gave her. Her care visit this week included some technical advise on making it work. She likes it, its a small hobby project for her.


Hi, We are in the middle of a longish Coronavirus lockdown here in Melbourne. This post just shows some of the things we are doing to get through.


Regards


Steve Nurse