 |
| Welcome! |
 |
| My interlocking 3d printed pieces are based on..... |
 |
| the work of Rinus Roelofs and some other models I have made, and they use...... |
 |
| 3d printer filament like this as an interlocking edge. |
Hi
Earlier this year, I came across the work of
Rinus Roelofs, a Dutch sculptor, artist and presenter who dabbles in creating unusual
polyhedra. Some of his work interested me a lot, so I decided to make some connectable "L" shapes on my 3d printer, capable of forming Rinus'
Flat L-tiles,
Non-Flat L-tiles, and
Cylindrical L-tiles. The L's I made use some techniques I've developed for making other parts, so weren't that hard to do. When I had made a few things, I wondered what were they
for, and decided that maybe they could be a flower vase. So I made a complimentary piece to go with the "L", shown orange in the pics below. While this new Vase piece looked quite good, it didn't hold water as vases should, so I have lined the pieces with aluminium foil when they are holding water and flowers as per the pictures below.
 |
| Vase #1 |
 |
| Vase#2 |
 |
| Making liners for vase from used aluminium foil fish and chip wrapper. |
 |
| This kitchen table sculpture..... |
 |
| fell over, so I was compelled to make..... |
 |
| this one using allthread rod which is much more secure. |
 |
| 2 storey vase tower secured by 3mm rods. |
 |
| Rubber band and rod construction method. |
Given that the vase part didn't hold water, I decided to put some holes in it to make connections to other parts. This can be done with 3mm dowel, rubber bands, straws and allthread rod as shown above.
 |
| L's with rubber bands and rods. |
Similarly, the "L" shaped pieces could make different connections, and I put in an extra slot to hold skewers, rods and straws using rubber bands.
 |
| On this piece, the orange parts are held in place by protuding 3d printer filaments in the assembly of 3 red parts |
 |
| Some more mini sculptures |
 |
| A very small design modifitation to the red parts allows this sort of balancing. The orange parts have flats on the edges. |
Above are some photos showing extra possibilities for balancing. The apex of the 3 joined L's has enough room and the right shape to balance a Vase, the Vases have flats on the edges for stacking parts on top, and the 3d printer filament can be positioned on the L's to make miniature hooks to hold Vases in place.
 |
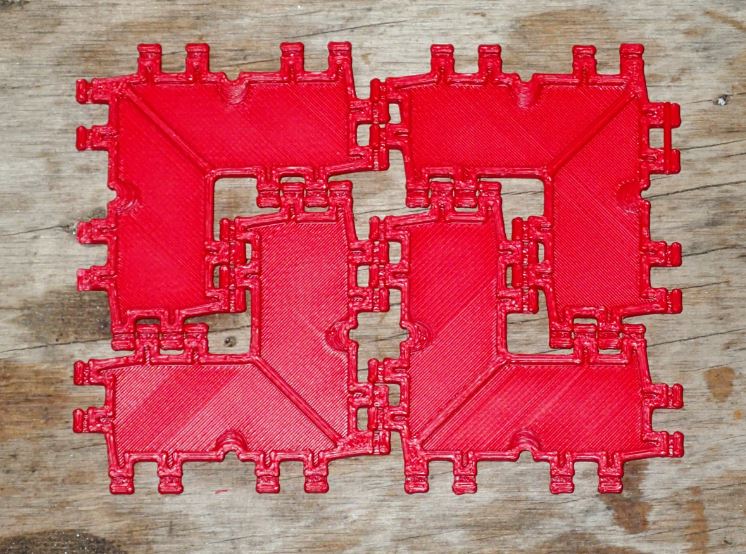
| This shows 9 red parts and 4 orange parts all fitted together neatly so they can be transported & kept tidy. This should be enough for a group of 4 to take on a construction or art challenge. |
 |
| Basic materials to make the forms shown in the 6 photos above this one. |
The extra parts needed to make the things are relatively simple as shown above. In terms of part numbers, 9 of the red L and 4 of the orange vase seems to be enough to make some interesting shapes and this set also packs up nice and neatly into a cube, see photo above.
 |
| Click on the slide to show the construction challenge in detail. Printing filament and a set number of bolts, straws, strings, rubber bands and 9 red L's and 4 orange Vases were provided to the groups of 4 or 5 students. |
 |
| Construction challenge in progress. |
 |
| The construction challenge washup was a table showing the heights of structures, weight of screws and these 2 multiplied together. |
So after I had made the parts, and had put them together in many ways I wanted to share them, so ran some 3d printing / construction challenge / art challenge classes over 2 sessions of 90 minutes each. "Art" was inspired by a local Melbourne sculpture,
Vault, and I made up the construction challenge as shown in the slides above. Students were in groups of 4 or 5.
So what if you want the parts? They are available for free download Thingiverse pages, here is the
link. Within a few months I plan to put models for purchase up on cg trader, these free models are to whet your appetite.
Regards
Steve Nurse
Update Nov 6, 2018: Link to
Thingiverse.


No comments:
Post a Comment