 |
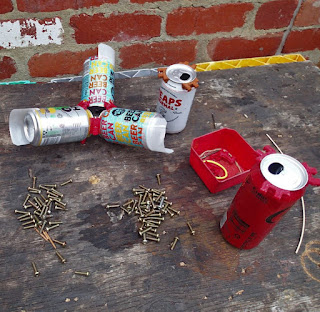
Bolts used as ballast, there are bolts like this at the bottom of the red can.
|
 |
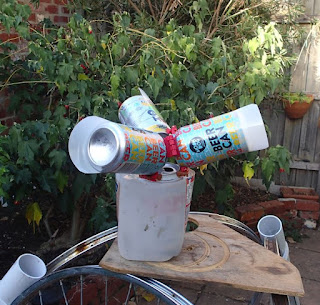
Building mk1, these are the 3 330cc "sail" cans which are at the top. This was the first version of the sails, from lamination sleeve and gaffer tape.
|
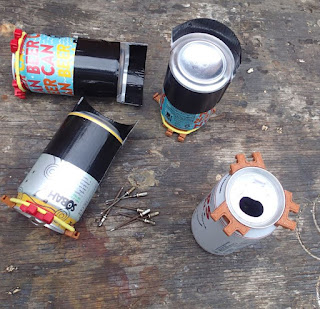 |
The first version also included steel pins which were later swapped for lighter bamboo rods.
|
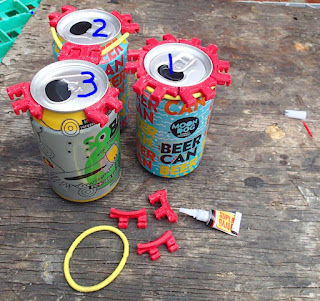 |
Jigging uses extra red joiners. The red parts need to be equispaced on the rims to make the tetrahedron. 1. Six parts on the rim are a neat fit, and with about 1mm between them they are equispaced. 2. Remove 3 jigs and glue with the hair elastic still in place. 3. Remove hair elastic when glue has dried.
|
 |
Latest sails are mylar held on with clear office tape.
|
 |
Net for tetrahedron
|
 |
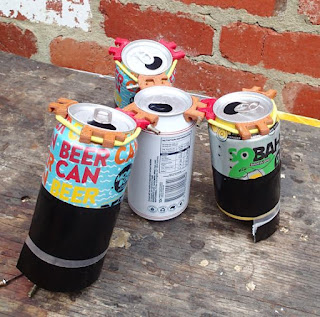
Second version. Despite changing the sails and pins, the water was still quite near the can rim of the lower can, and that called for....
|
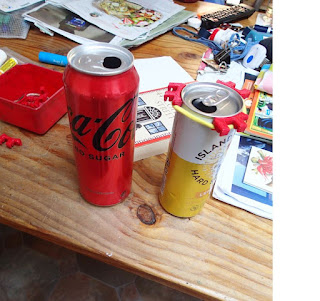 |
a big red can! I was prepared to buy one contents intact but found this one in the gutter. I bought the other skinny can but soon realised it didn't have enough floatation volume.
|
 |
Second version floated too low still.
|
 |
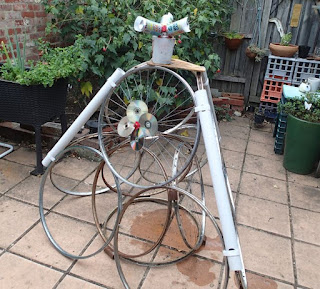
Woo hoo, third and final version in progress.
|
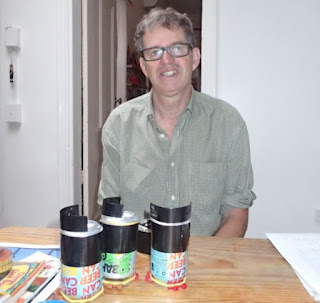
Hi
This shows my latest can raft, and I didn't need an expanse of water to test it! Pictures tell most of the story. It took 2 days to build, and the final piece in the puzzle was getting a 500cc high volume can which had enough capacity to float the thing. A cube or prt cube in the same pattern should work as well. Video is here, https://www.youtube.com/watch?v=IAvNbqUQ8Mc and the 3d printable file used to make it is here, https://www.thingiverse.com/thing:5256279
Regards Steve Nurse


No comments:
Post a Comment