News and Events

Keep up to date with Steve Nurse's designs and 3d printing.

Wednesday 10 January 2024

Icosahedron Sculpture


Hi


For a few months, I have been working on a bike rim icosahedron  (20 sided figures which nominally use triangles as sides), with the starting point gathering enough 27" bike rims to do the job. Before Christmas, I started putting one together in my girlfriend Mary's back yard, my own backyard having too much cr&p (junk in the form of other bike sculptures mostly) in it! 

As well Mary was having a Christmas lunch, this could be the star attraction - along with Mary's excellent cooking of course!

To join the bike rims, making edges was the first step, and I did this by drilling wooden joiners at the dihedral angle using a 3d printed jig. These were put away for a few weeks till I had time to build anything. Finally, close to Christmas, all the wheels and tools and edges were bundled in the car.

Assembly was only partly successful and partly done before Christmas, the bike wheels weigh enough to rip apart the joiners. But Christmas lunch was a complete success with Mary, me and 5 guests laughing and eating and reading the daggy Christmas Cracker jokes almost continuously for several hours. 

Graham had arrived completely soaked by the rain on recumbent bike and was given a new set courtesy of Mary. Later he rode home in the rain again and even later still returned the clothes, dry washed and ironed to Mary!

I will work on another joiner for the icosahedron, this time from steel tube and wing nuts, and may remove the spkes and hubs from the donor wheels.

PS 3 wheels make quite a neat unit, but when the units are joined up using spoke holes, they act like dodecagons. I've made a pic of this using 20c pieces.Will report further progress.


This link is for a completed sculpture made with 1 rim per side.

This link is for a completed sculpture made with 3 rims per side.


Monday 11 December 2023

Bike Rims Article


Cycling is about staying fit and using resources wisely. Recumbent bike makers can even reuse old bike parts to make new machines – its been very satisfying for me since about 1987!  Recently I’ve branched out to use old bike wheels in non-recumbent things.

 I have a 3D printer and a few years ago developed some designs to join CDs together  to make geometric shapes (see article here). CDs are round just like bike wheels, and so I've gone on to use CD joining techniques to make bike wheel versions of the mathematical shapes called platonic solids. These include tetrahedrons and dodecahedrons and I am working on a 20 sided icosahedron.


Inspiration for the shapes comes from the bike dome at Ceres in suburban Brunswick– I don’t anticipate building anything that big and my designs might be a bit more orderly, but the dome shows what can be done. The Trisled newsletter recently featured a similar community-built dome at Meeniyan in Eastern Victoria.


A few weeks ago, I gave my small tetrahedron table away to my friend Simon for his 60th birthday and was able to transport it to his place by bike. That was on the way to the Wecycle bike shed where we volunteer. At his party later that evening, it was set up in his garden, staked to the ground as its base is not very big and its prone to tipping.


A larger tetrahedron I made uses a raft of 3 bike wheels bolted together to form a side of the 4 sided tetrahedron. I’ve had this for quite a while and have transported it by trike and trailer. I’m not sure if it qualifies as a road train or pantechnicon, but this is a 14 wheeled vehicle!


From Heidi "Here

That’s a fun story – made me chuckle. Here’s a pic from the day.

Thanks for letting me use the sculpture!

Cheers

Heidi


Once I took it to a community bike day and it was noticed by Heidi Marfurt who is the Darebin Council’s sustainable transport officer. Just a few weeks ago Heidi wanted to use the sculpture at another community bike day, The Rezza Bike Day.


The sculpture uses the wheel centres as axles for small windmills which also use cds as blades and a 3d printed hub. That is just a fun thing but shows what can be done with recycling. When Heidi asked me to loan the bike sculpture I decided to extend it and worked out I could make something quite high (about 1.8m) without using only 6 extra bike wheels.  The pattern is shown in the picture – as long as there is part of a wheel on an edge, then the outer triangle shape can be made, even if the outer triangle is not completely filled in. I needed 2 goes of putting it together to get the pattern right.


Actually loading the sculpture sides into the Heidi’s car involved Tetris-like manipulative skills and in the end only the smaller tetrahedron would fit in. A few days later Heidi came back to my house with the sculptures and they were festooned with ribbons and a couple of the CDs had broken off. I was thinking it's a bit like those stories where a garden gnome gets kidnapped and sends postcards from Queensland and then turns up months later with a suntan and tattoos! Heidi was quite sick of loading and unloading the sculpture in cars by this time, but the whole event went well and the sculpture was appreciated.


Most recently, I used the frame for painting a crank arm on a Wecycle repair bike. This was to turn a silver right hand crank black, as the original black one had a stripped thread. The other hanger in the back yard is the dodecahedron, used as my regular clothes line.


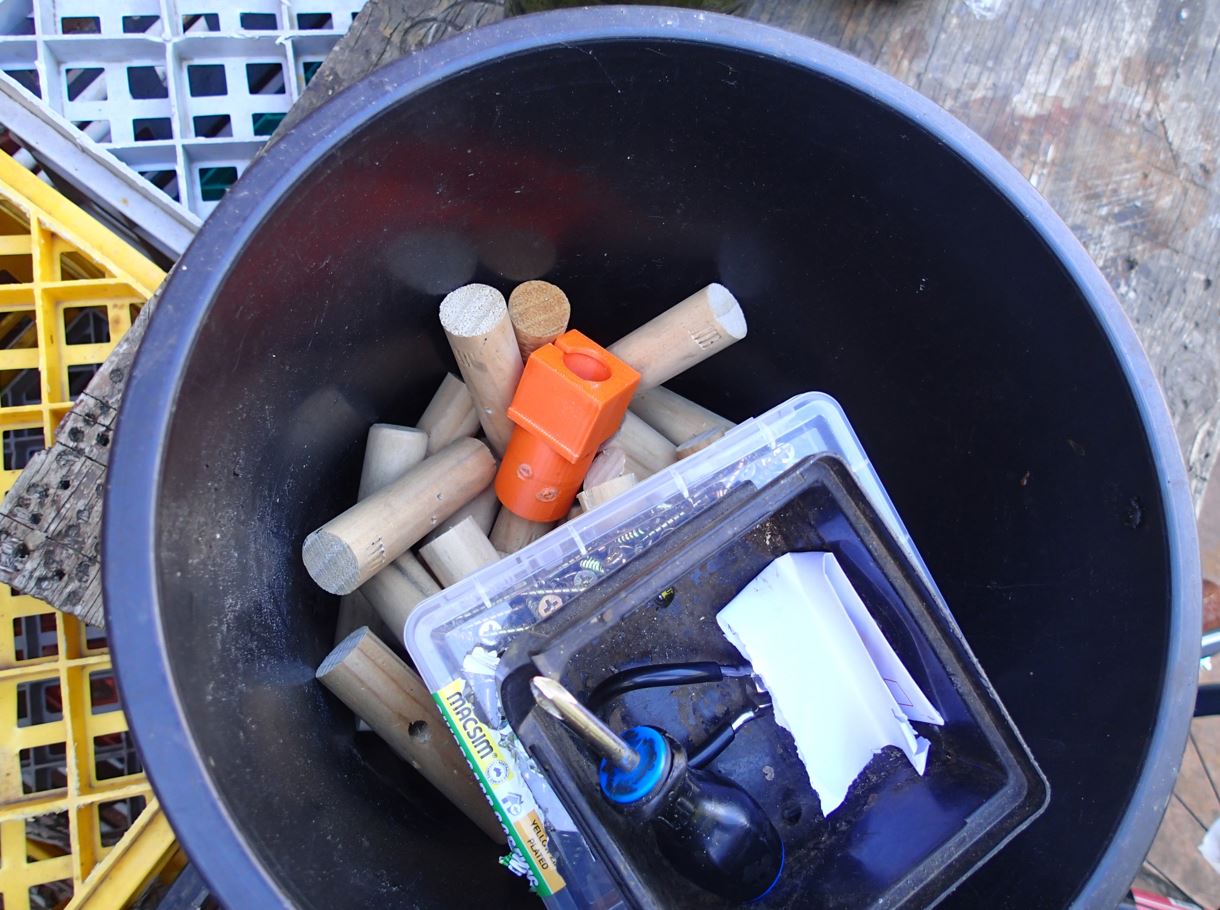
Sofar I’ve been making wheel joiners (they act as platonic solid edges) from steel tube, pvc pipe or wooden dowel. When there’s a narrow angle (ie on tetrahedrons), the large steel tube seems better, and the drilling can be marked out with dividers and a centre punch. For larger angles like on a dodecahedron, I use the dowel, and drill with the help of a 3d printed jig. This wikepedia page  

https://en.wikipedia.org/wiki/Table_of_polyhedron_dihedral_angles  gives the relevant angle between faces, it is called dihedral angle in geometry-speak.


I plan to go on building the bike wheel sculptures, and mostly use 27 inch steel bike wheels. The 27 inch bikes are now of an age with the are often being thrown out and are not worth restoring - or are only worth restoring if the wheels are swapped out - so they end up in the recycling dumpster at Ceres. I can load up about 4 wheels at a time on the back of my bike, even more if the spokes have been removed. Also I know Serge, the volunteer who does most of the stripping of unwanted bikes at Ceres. We stop and have a chat while I’m there, and swap notes about the Wecycle and Ceres Sheds and our bikes.


Monday 23 October 2023

Universal Polyhedron Kit


Tetrahedron in process

6mm dowel pieces, 75mm long.

Modular dice which are available from Thingiverse here . I had been thinking for a while of how to make other dice sides - a pentagonal side for a dodecahedron, and triangular / adjustable angle sides for octahedron, tetrahedron and icosahedron.

Makittoy, I got the idea of using 6mm dowel from this.

Photo frame 2023 obverse

Photo frame 2023 (With Mary at Fairfield Ampitheatre). The inspitation came

Photo frame 2017 (Richard, Cicely, Sarah)

Finished! At the bottom is the raft from the 3d printing.


CD-Matic MKI with makittoy. These centre bits were a bit weak and broke eventually.

CD Matic MKI with Makittoy

Lamp Centre

Cd Matic mark II with 3d printed parts replacing Makittoy parts.

Hi

Today I started working on a "Universal Polyhedron Kit" and have finished making the basic parts and putting them to use. The above pics are a bit jumbled, but I hope you can make sense of them. Prior to this I have made lampshade parts, Cd-matics, and modular dice, and the ideas have eventually rolled together to make this one.

The kit currently consists of 3 pieces, use 6mm dowel, and I have made a tetrahedron from them. The kit is male and female hinge halves, which are a bit like rod ends . The hinges join rods together to form polygons. The polygons can then go on to make polyhedra with the help of the spacer part. All the other platonic solids can be made (in twin edged form) from the 3 parts and 6mm rod. The hinge halves add 15mm to each end of the dowel rod.

Now on thingiverse! Here!

Update, 25/10/23

Overnight, I designed and printed some new parts, a "switch" for the Universal Polyhedron Kit. This creates  links between 2 parallel edge pieces, allowing joining of polyhedra sides. In the example pics below, I have highlighted the 2 sets of triangles in blue and orange joiners.  The ideas for this came from my work with basket cane, making twin edge polyhedra in spherical form. The draft writeup for the cane constructions is here , and I've included a diagram about switch placement below. It should be fairly easy to make a model from a continuous set of rods, this needs 3 switches in the tetrahedron.


Update October 27, 2023

By yesterday morning I had enough bits printed to make something besides tetrahedrons and was thinking of a cube with 2 sets of sides. I'd also walked to the local hardware shop (Demars) and bought some locally made (Porta) 6mm timber dowel rod. 

Then I worked out I could make a vase stand for a mug I have. On a morning trip, I bought a small $8 glass vase from an op shop.  The existing triangles I had were the right size for the new vase. I had a go at calculating the size for the bigger triangle at the other end, but in the end there was some trial and error to make it right. The vase support is divided into orange and blue sides. Photos below, a good result I think.


Update, 2/11/2022 (The male is redundant, lesbians you are right)

After a while I realised that the only piece of the kit that is really needed is the female rod end as per the pic below. "2 blue female parts can take the place of the red rod joiner and the orange male / female hinge assembly." "The male of the species is almost entirely redundant".

To make a cube using the techniques shown above - including extending a hinge pin to make an edge - requires fewer pieces, ie only 16 3d printed parts and 12 rods, as shown below in 3d cad.

Update Nov 23. In the last week I've made all the platonic solids from the kit, and pics are below. Mary and I used the icosahedron for deportment practice - hilarious!


Dodecahedron

Cube

Cube laid out as net

Octahedron

Tetrahedron

Icosahedron