News and Events

Keep up to date with Steve Nurse's designs and 3d printing.

Thursday 29 August 2019

Tensegrity Prisms etc. 5


Hi

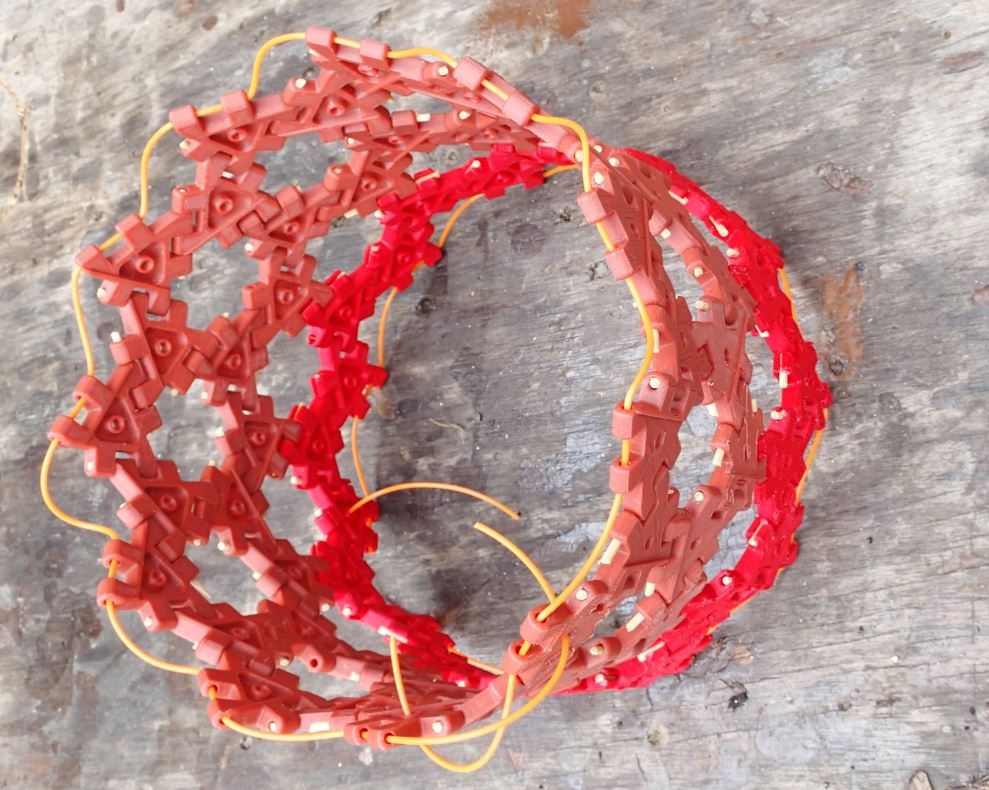
This post is mainly to say that I have moved the files for my "Wheel Construction Kit" to Thingiverse from another site. At the other site I had 0 downloads despite the design being free, and I have abandoned the other site now.  The original posts about its development started here and ended here.

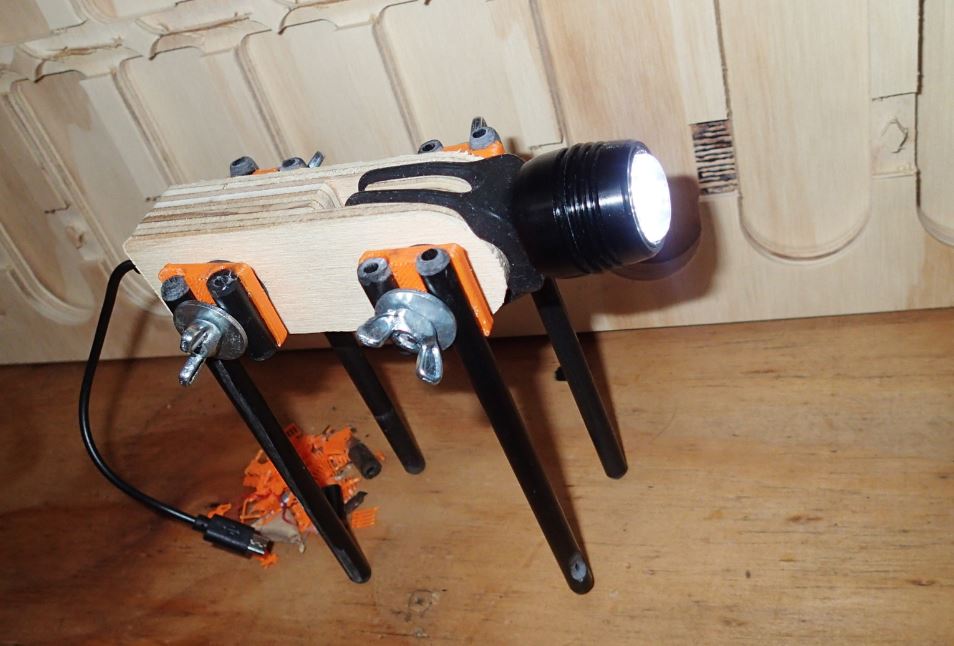
Basically the wheel can be used to make all the things shown above. When I was making and using the stick frame version about a year ago, I wrote

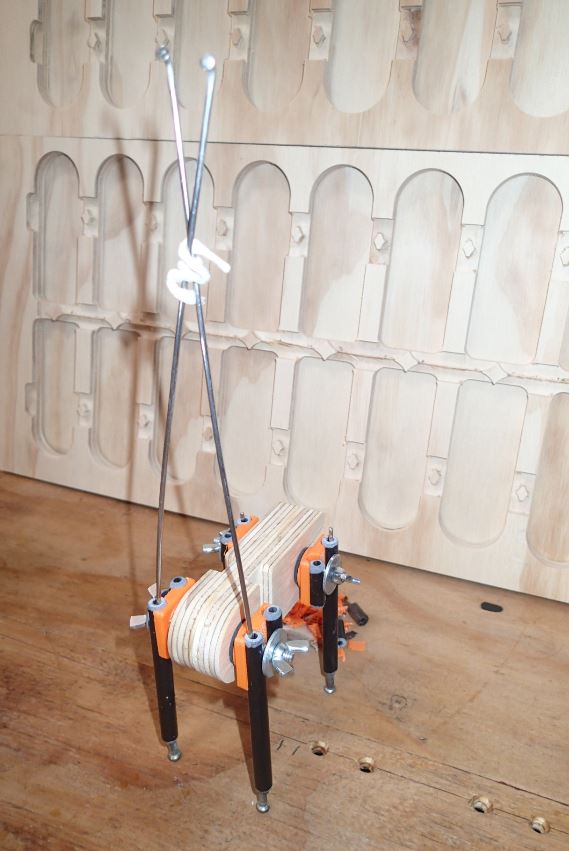
"So from my last posts here and here, I showed a 4 wheel steering model car and a rubber band driven model car, and from some studies I had been doing, knew about the concept of energy being stored in the frame of a vehicle.  So the designs all whooshed together, and I came up with the model shown on this page.  The sticks which are the frame and the power source are very flexible, green, late winter growth twigs just about to burst into flower.
Ok, not the most refined thing, but I think printing them in schools and seeing what kids would come up with would be a great practical way to introduce energy storage and conversion. In 2040, Norway plan to have all their planes electric, so in the next 20 years, the storage of energy in lightweight structural materials will become a major development goal.  The storage may start in batteries that come with solar panels, then evolve through batteries for bicycles and velomobiles and cars, until, finally, the entire frame of airplanes do double duty as a battery.

So what about the future for the Wind-Up-Frame-Car I've made?  I have some plans to go big and go slightly less rough with the design.  Will keep you posted."


Well the Wind-Up-Frame-Car did have a future but it was in the form of an article which talked about some of the vehicles I've speculated on. The article has now been peer reviewed and will be presented at a conference in Canberra in about a month. Here is a preview via Researchgate.


For some videos, of some of the models, see https://www.youtube.com/watch?v=WkpOLmo43hk&feature=youtu.be (wind up car) and https://www.youtube.com/watch?v=93CuX6bkKd4&feature=youtu.be (towers 1) and https://www.youtube.com/watch?v=naUxUCjhTx0&feature=youtu.be (towers2)

Regards

Steve Nurse

Sunday 18 August 2019

Body Builder Kit 2

Timber on the way to Sean and Horn.
Showing off the design to Billy at Sean and Horn
Board with cutouts is usually waste.
Original
Timber parts and 3d printer parts as torch with just enough space inside for a USB cable.

Torch

Uses bike Spokes.

to make this thing.


Bird


Giraffe


Home Studio


Before Shelf
After Shelf


Hi

A few weeks ago I posted about a body kit I'd made, stemming from a bike part I'd built and never used.  And I've come quite a bit further with the design, making several variations from the basic parts, these include a torch with usb cord holder, and NC routed timber versions courtesy of cutting by Sean and Horn.  

The NC routing was a bit speculative, so I didn't want to get a huge sheet cut, and got some fairly common timber from the closest hardware shop, and bought it home "landscape" or super wide on my electric bike. For the actual trip from Clifton Hill to Sean and Horn in Coburg I went portrait, or slightly less wide.  The bike carried the timber fine, and probably quicker than by car as there was some fairly major traffic poo with a set of train crossing boom gates stuck down.  Anyway, I'm quite pleased with the results and the general interchangability and fun of the parts.

Besides anything else, posting this was delayed by our need for a kitchen shelf.  All the animals I'd made had been hanging out uncomfortably on cd's, speakers and stereo systems and it wasn't till I'd made a shelf that I had room for more of them.

The pictures show some of the waste made in the process of building the items.  The board with holes is what the wooden pieces were cut from and the "poo" (modular bikes word of the week) is bits of offcut timber, offcut tent fibreglass tent poles, althread rod, sawdust and the "raft" or 3d printer part support material.

Will work on sharing the design at some stage.

Regards  Steve Nurse


Sunday 4 August 2019

New printing builds

Open Hexagon Crown and

Another view of it and

A few more patterns I plan to turn into tessilations and roll.
Hi

About a week ago I was fiddling at the kitchen table and put together a few of the 3d printable construction kit parts I designed and made a hexagon ring, then wondered what would happen if I made a ring of these things.  I've done this sort of thing before, and just set the parts aside, waiting for a slow day to do something more with them.

And yesterday was the slow day. As you might be able to see in the design blog pic, my face is a bit blotchy due to treatment for sun damage, so I'm sticking reasonably close to home. Anyway, I fished out enough pieces to make something and put them together last night, and what I came up with was a bit of fun.  Its a fairly rigid, 3 layer ring.  With that working and just about all my triangle bits used I tried flipping a few of the parts and came up with a few new hexagon types. I don't want to muck up what I've already made so have arced up the 3d printer to make more.

Regards

Steve Nurse