News and Events

Keep up to date with Steve Nurse's designs and 3d printing.

Saturday 25 March 2023

More Makittoy


 Hi

For a while I have been experimenting with the Makit construction set (with posts here, and here, ) and now I'm happy to provide some more information on it.  

Firstly, in the pics above, I've made some visual representations of the 2 compatible principles governing the lengths of Makittoy rods, as described in Pic 1.

Secondly, I've scanned the makittoy documentation I have and the full (yes battered!) version is now available here. Happy Makitting!


 One of the features of Makittoy is that is has 2 rod diameters which are colour coded. Brown rods are slit at the ends which creates a little spring - they stick into the wheels or joiners which have holes which are all the same diameter. Red rods have a slightly smaller diameter and normally slide or spin in the joiner holes. There is another option with the red rods and that is to use a steel bushing with them - that turns the sliding fit into a press fit so that the joiners can also be stuck fast to the red rod. 

The Makit rods aren't elaborately transformed but are at least mildly processed - one is painted red and the other has slits in the end - so it takes at least some effort to "forge" the Makit parts, even if you start with the right diameter rod.  

In engineering terms the Makit system is Hole Basis , with fixed hole sizes and variable shafts. In a set of parts I designed recently (here)  , the fit is shaft based with a constant diameter shaft used.


Tuesday 21 March 2023

Eddie's Knitting Machine


A Meccano gearing sampler which I showed to students at my son's school in about 2002 - potential knitting machine spares

Some of Eddie's Meccano

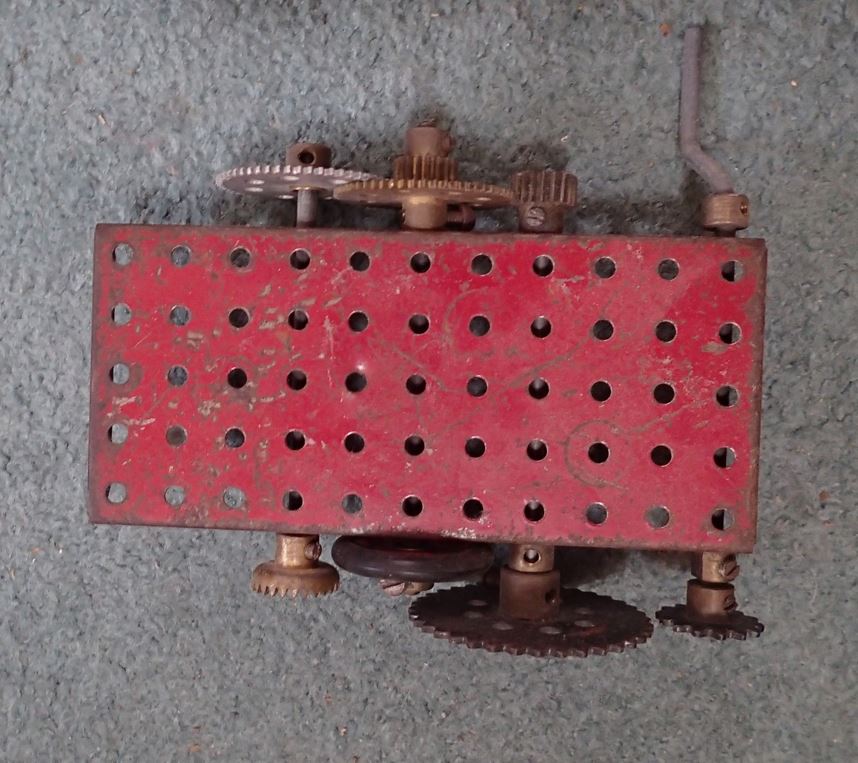
More Meccano ("Eddie's") and Meccano knockoffs ("mine")

Mary, 2023

Knitting machine before cleaning, 2023

Knitting machine with Audax riders Alex McNee and Rodney Cruz, Cobram Hotel, 2023


Christine Durbridge, Melbourne, 2023

Mary, Christine, Geoff, 2015

Knitting machine, Cobram, 2015

Christine Nurse and Steve, 2015

Knitting machine, Melbourne, 2023. The bearing circled in red is worn as detailed below.

Bearing detail. It is a steel meccano rod in a bronze bracket, and the bronze has worn so the hole is about 1mm oversize. This has happened in a few places, and the brackets are loose on the baseboard as well.

Artwork by Eddie. It is from a hand-wound machine - the closest thing we have today is Spirograph.


 When I was very young, maybe 8 or 10 or so in the late 1960's, my family used to visit my great uncle (Dad's dad's brother) Eddie in Heathmont. Eddie was an inventor and chief amongst the inventions I remember was a "Spirograph" type machine, that is a mathematics - based drawing machine. 

Spirograph has the artist moving cogs around pinned cogs to create patterns, however Eddie's machine was self contained with pattern variations programmed into the machine. The user just had to turn a handle and a pattern was created. 

Another invention was a reflecting fireplace with a small central grate and reflective surrounds, and yet another was a solar energy collector which sloped down from the back wall of the house. Lastly, Eddie had made a water clock which now resides in the Melbourne Museum.  

Eddie used everyday materials in his construction and this included Meccano. Somehow, I inherited some of Eddie's Meccano, and some of his tinkering and mechanical improvisation skills. The Meccano (a mix of Eddie's and mine) has sat idle on the top of a bookshelf for many years. But about 20 years ago I made toys demonstrating mechanical principles, and taught my son's primary school using them.

Really I had better stop rambling and get to the point! About 8 years ago, my wife Christine and I visited Moama for a holiday and drove on to Barooga during our stay, to visit my Aunt Mary (Eddie's daughter) and her husband Geoff. Time marches on, and now both Geoff and Christine are dead, Geoff dying in 2020, and Christine on October 9 2022. During that visit, Mary showed off her Dad's knitting machine - something I had never heard of - and I filmed it for youtube , photographed it, and put the results in a blog post.

Fast forward 8 years, and I was prompted by a facebook call to ride recumbents in a Cobram / Barooga Audax ride, a desire to visit my Aunt Mary again, and an email about the knitting machine video from Hilly Jacklin, a knitting machine enthusiast from the USA. 

When I visited Cobram a few weeks later, I asked Mary if I could have the machine, and she readily agreed. We retrieved it from the top of a wardrobe. A few days later I had returned to Melbourne, cleaned it up, made a jig to carry it safely and shown it to my knitting friend Christine Durbridge.

Its now my ambition to get Eddie's knitting machine working again but there is no way I can do all the work myself. As per the photos, ideally the machine should be thoroughly cleaned and restored (bearing clearances reset) before attempting use, and I do not have the basic knitting knowledge to get the thing started. 

I believe there'd have to be some sort of rod suspended above the machine onto which the knitting would be cast and then drawn upwards. Anyway, I'm putting it out there to a few contacts to see if I can get the restoration and reanimation started. Wish me luck!


Thursday 16 March 2023

Off-Piste with Makit toy

1

2

3

4


Hi

A few weeks ago, mucking around with golf ball structures got me interested in an old construction set I had called Makittoy, and I tried and failed in finding the set I had as a kid at my parents' house.

Undaunted and unphased by this, I just went out and bought some, firstly through ebay, secondly through facebook marketplace from Tasmania. But my best set sofar was picked up from Elwood last Tuesday morning. 

I've now had enough time to make some stuff. The cube (4) could be made with the cardboard triangles supplied with the kit, but I made my own by 2d cad drawing, printing, laminating (3) then cutting out.

Also the Makittoy rods (brown / 6.42mm) could be made with DIY, they are, after all just cleft sticks - or rods with a bisecting cut at the ends - which form a very simple spring.  The spring can act in 2 ways, that is

* With thin material slid into the saw cut, the spring opens and clamps. 

* When the end is pressed into a round hole, the spring compresses and clamps.

I've since bought some 6mm and 9.5mm dowel from a local store in easy biking distance. The dowel is made locally also, see here. Will report back when I make some more things.


Saturday 4 March 2023

Dodecahedron Jig 2


1

2

3

4

5

6

7

8

Hi

This post shows a different way to make the dodecahedron jig I detailed in my last post. The approach was a bit down and dirty, coming up with the answer, but not necessarily in the most elegant way. 

The new approach came to me, and I thought I'd work on it and write on it. Instead of several complex steps of planes and angles, there's only one complicated angle involved, and that is derived from the view of a dodecahedron shown in 1. The angle is shown in another form in 2.

Steps involving making the shell come first, then a boss is then drawn on an existing plane, and a cut is put through the boss (3, 4, 5). All of the boss and cut can be cut arrayed around an axis (6), and then bosses and cuts added to the jig centre (bottom of 7).

At this stage, the cad from the first and second approaches can be compared, 16 steps in the first versus 11 in the second. The second shape will be easier to import into 3d printer software. 

Regards Stephen Nurse