News and Events

Keep up to date with Steve Nurse's designs and 3d printing.

Tuesday 24 May 2022

Braided Knitted Ball / Edge Nets for Polyhedra

 Hi

After making a paper tetrahedron (see my last post), I have kept on working on polyhedrons which follow Marleen Hartog's pattern for a braided knitted ball.  So I have made considerable progress, and have been able to work out along the way some of the theory and principles of what I've been doing. 

So from the last post, I had made a paper cube as per Marlene's instructions, and had made a cane version (figure 9), and also managed to make some paper tetrahedrons. The tetrahedrons had one paper loop per side, with the paper loop completely surrounding each face, and an over and under pattern at each corner. The corners end up being mostly flat, and the assembled versions mostly spherical.


Starting with the pattern criteria that an octahedron has 4 edges at each corner, I started drawing an octahedron net based on what I'd done with the tetrahedron. The octahedron is more complex than the tetrahedron, and I took a simpler approach to making it this time, just putting different colours on white paper instead of printing outlines on different coloured sheets of paper.

So I think I've made a few "edge nets" here. The geometry nets I've heard of consist of full faces joined at hinging edges and accurately reproduce polyhedra. The joins between faces are the edges, and these are either joined like hinges "inside the pattern", or are split edges "outside the pattern". Pairs of split edges combine and coincide when polyhedra are made from nets.

The edge nets I've made consist of edges made of 2 distinct areas / struts and "roundabout" or over / under / over intersections for corners. There is nothing at actual corner points as they are at the centre of the roundabouts. A result of the 2-struts-per-edge feature is that given the correct nodes, an edge net can be made fully traversable, or made from one piece of cane. They have "two or no odd nodes" , a mathematical concept which I somehow remember from school, or engineering at uni. A long time ago!

So now I've managed to make all 5 platonic solids in this form. It makes the edge nets more complex than necessary, but also more versatile and mathematically- , and generally- interesting.

The dodecahedron was tricky and the icosahedron looked even trickier, until I realised that the edge polygons nets fit in the conventional nets of their dual. That means a cube net can be used as the basis of an octahedron edge net, and vice versa. The "rule" I used is that a dodecahedron net can be used as the basis of an icosahedron edge net and vice versa.

That is probably enough for one blog post, I will add in the pictures now. Drawings were made from scratch in Draftsight, other materials are printing ink, paper sticky tape and lamination sleeves. I plan to make a few more cane structures next, starting with the tetrahedron.


1)  3 tetrahedrons

2) Tetrahedron edge net, makes the shape shown at the bottom of 1).


3) Conventional net for cube

4) Edge net for cube

5) Conventional and edge nets made into cubes


6) Octahedron edge net 1: colours surround each side, 8 loops

7) Octahedron edge net 2 with colours surrounding each half, 6 loops

8) Octahedrons

9) Conventional edge net for icosahedron made from the 3d printable construction kit available here. Playing with these helped me work out the icosahedron edge net.


10) Dodecahedron edge net

11) What it says!

12) Above pattern with icosahedron edge net overlaid

13) Icosahedron edge net


14) Dodecahedron, Icosahedron

15) Laminating after printing

16) Kerrie quite liked them, we gave her a few patterns to make


Update June 1, 2022

Over the last 2 days, I've made and started to use a new jig which holds basket cane in the right position to make a tetrahedron based on the patterns of figure 1 above. I managed to design and 3d print the jigs one night, (17) and use them to make a tetrahedron the next. 

The 2mm basket cane was soaked in water, then 1 ring was connected using heat shrink tube. The ring was then clipped into the bend jig (19) , and gradually more rings added. When all rings were in place and closed, I glued the rings together at the 3 crossing points of the nodes. When the glue was dry I removed the clips and jigs.

In the middle of last night I realised the photos of the finished shapes would look good on a white background without a flash, to show off the shadows, so got up and took a few photos in my pajamas, and they are shown below (20 - 22).  The end shape is like an inflated tetrahedron with chamfered edges (it is topologically a cuboctohedron )   More to follow.

17) 2d drawing printed out. 3d drawing and 3d printed jigs followed.


18) Jigs and clips

19) Jigs and clips in place while glue dries.

20) Et Voila! Much easier to see what's happening in 19!

21)

22)

(link to next post)

Friday 6 May 2022

Braided Knitted Ball


1)

2)

3)

4)

5)

6)

7)

8)

9) Form is similar to that of a Rhombicuboctahedron. Later, I worked out it is a skeletal octahedron.

Hi

A few weeks ago, our friend Christine Durbridge came over after a summons from my wife Christine. 

Our niece in England was having a baby (who has since been born, welcome to the world, Ed!) and Christine wanted to sew some decorations on some singlets, and was after technical advice. Now for all things sewing and knitting, Christine D. is the guru.

So Christine came around and the discussion somehow got onto a knitted braided ball design which Christine somehow produced pictures of using her ipad thingy (1, 2). 

So the pattern for this ball (3) had been hanging around our house for a while, and one day I got out scissors, stapler and coloured paper, and made the paper equivalent (4,5). This is suggested in the knitted ball instructions as a guide to final assembly. 

I wasn't quite satisfied with that! Questions such as "If this is a cube, what does the tetrahedron look like?" arose!

Anyway, as a sort-of answer, I have made a basket-cane topological equivalent of the paper cube (5 - 9). and it ends up looking like a chamfered octahedron or rhombicuboctahedron. ( Later, I realised it was a skeletal octahedron if the parallel rings are taken to represent sides) To make it, I used 6 of the 4 rod glue jigs I already had designed and made, 3mm basket cane, fold back clips, superglue, electrical heat shrink, and a hot air gun.

After making 2 rings using a heat gun, cane and heat shrink, the rings are joined by 2 jigs and fold back clips. Then an extra 2 canes are added. The new canes are closed as rings once they have been woven and clipped in place. A final set of 2 canes is then added, then closed to become rings. With the jigs still in place, all 24 cane crossings were glued with superglue. Finally, all fold back clips and jigs are removed. The last step should be done within a few minutes of glueing, as jigs can get permanently stuck to cane if you wait longer. Et voila! (9)

What other shapes can be made in the same pattern, I didn't know, and needed more think-time.

Regards Steve Nurse

Update after a bit of think time. I came up with the 2d patterns below which are flattened,  chamfered tetrahedrons. By fiddling with the nodes, the pattern was "made" with 4 loops, 3 loops and 1 loop.

  I will have a go at making a cane version of 10 and report back. (Later I recognised these patterns as similar to a stereographic projection of the structure, a type of 2d representation )

Regards  Steve


10) Base model 4 Loop tetrahedron. To be more accurate it is a tetrahedron with both edges and corners chamfered.

11) 3 loop tetrahedron with modified nodes

12) 1 loop tetrahedron with modified nodes.

Update May 10, 2022

I drew a single path version of 12, with twists in the edges allowing the 6 edge tetrahedron to be made from a single strip of paper or a single piece of cane, and that is shown in 13. From then, with my wife Christine's help I made a paper 3d version of the tetrahedron plan shown in 10). The plan is shown in 14, the making of it in 15, and the results in 16, 17 and 18. It could be made from more colourful paper but otherwise I'm very happy. Will continue!

Regards Steve Nurse

13) 1 loop tetrahedron with nodes preserved and switches in edges to achieve the single loop. In loose terms, it meets the criteria for


14)

15)

16) A 3d version of 10)

17)

18)

Update, May 12, 2022

Today I made a new version of the paper ball shown in 18, and worked out I could make it from some thin A4 cardboard sheets I already had. It looks much better now. Might have one more go at this tetrahedron before trying the next (slightly more complicated) thing.


Link to next post

Tuesday 3 May 2022

Yarra Libraries Steamfest


A few weeks ago, I noticed an article in my inbox about an upcoming Yarra Libraries Steamfest, basically a showcase for fun / educational / technical stuff. (Steam actually stands for Science  / Technology / Engineering / Arts / Mathematics in education.) And eventually I got motivated and sent off an email wanting to participate. A few days later when nothing had happened, I went up to the local library, handed over a copy of my email, and said, "Hey, what's going on", or words to that effect. The librarian said he knew the person organising it and said they'd get in touch, but nobody did for a few days. I didn't think anything would come of it and was just prepared to let it go.

Then out of the blue one day I get a phonecall, and its Steven M. from Yarra Libraries, yes they'd like to have me, yes they'd like to see me, and we arranged a meetup time for the next week at Richmond library. For whatever reason, I decided to bring my big tetrahedron bike wheel sculpture along, which is after all maths and art related.

The meetup went ok, I showed Steve the big sculpture, and also some other mathsy 3d printed activities I had. We discussed setup times, where I could set up, and what I'd show, and had a look at the library's Sindoh printers, and the meeting all went ok.

As the time got closer to the show, I began ferretting through all my 3d printed stuff, and eventually brought along a beercan sculpture, a milk bottle wind machine, 2 cycling board games, parts for cd and timber platonic solids, and a 3d printed platonic solids kit. Whew, that was enough! The weather was predicted to be rainy Saturday and bringing along things made from bike wheels seemed to be over the top and too hard. Given the weather prediction, I also decided to bump in (get my stuff there) on Friday night. There was a bit too much stuff to carry in the tailbox, and I ended up tying a light bag full of beercan sculpture pieces (ok, beercans) to the tailbox lid.


After bumping in on Friday, I rode on to visit my mum and dad in Kew, and that took me on an unfamiliar route, something I don't mind every now and then. There were spots of rain on the way but nothing serious. The serious rain came after I got home though!

Then, by Saturday morning it was fine and clear, so a bump in then would have been ok! I decided to make it easy for myself and bolt a milk crate to the lid of the leaning trike tailbox. This would mean it would be no sweat carrying the beercans home. That went well, I just drilled a hole in the centre of the lid and bolted the crate on, and headed off to Richmond.


The Steamfest show itself went well. I was set up next to the library's 3d printer, which was running all day, and was showing "what you can make" with 3d printers. Most of what I was showing is on the thingiverse website, and part of my schtick was that you don't have to design to make use of a printer. There was fre tea / coffee and scones (yay!) a remote control Dalek (Dr. Who robot / alien character), which was very popular, and stalls from a hackerspace, community sewing works, waste reduction group and an all-electric-home group. Hopefully I will stay in touch with a few of them.

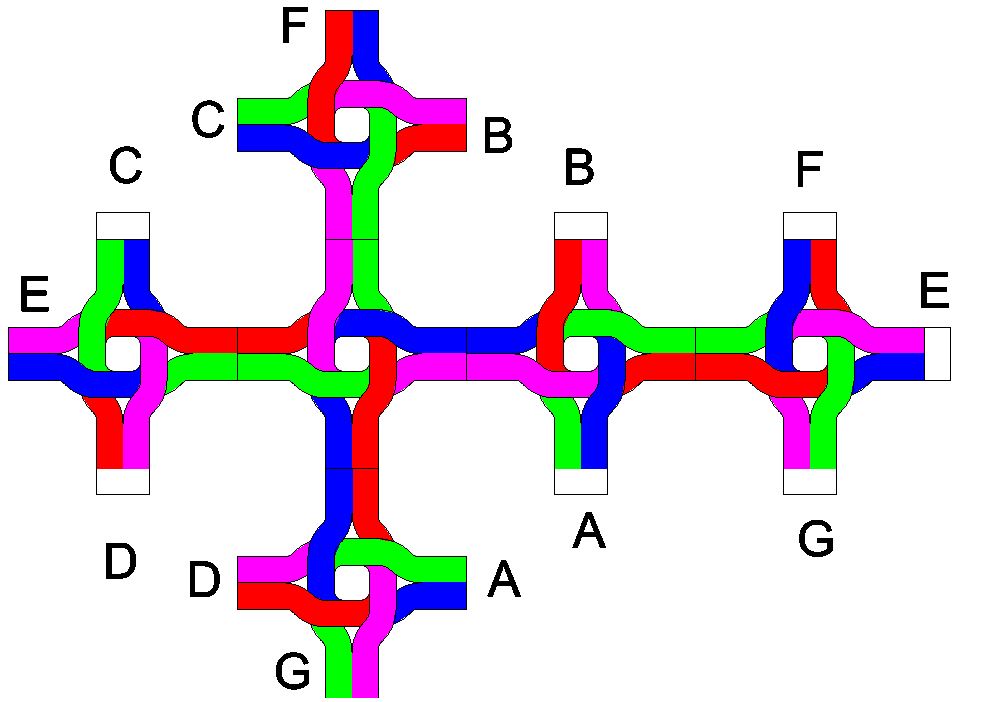
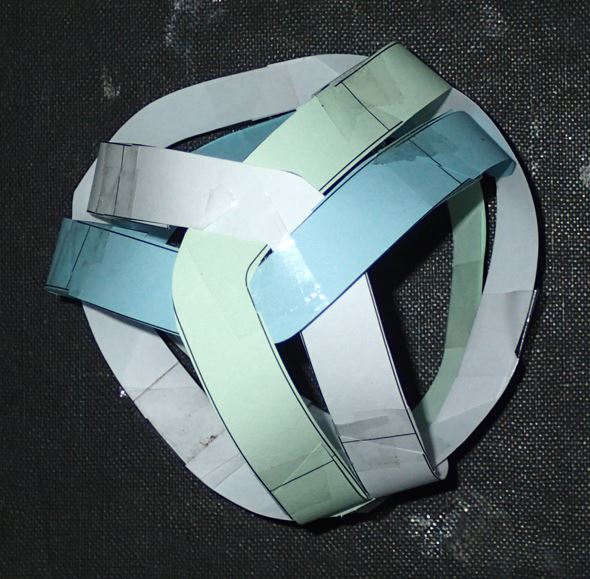
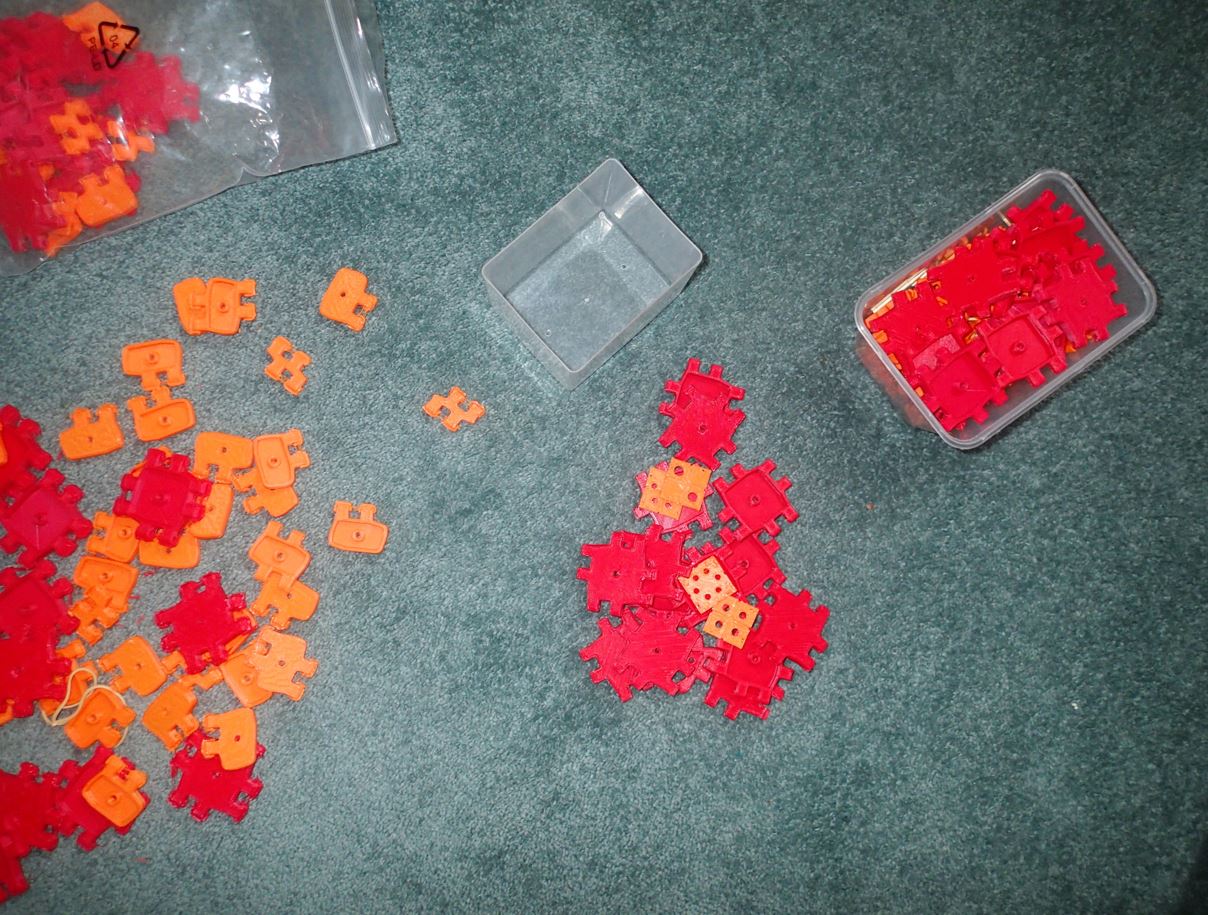
Kids and some adults were very happy to rock up to my stall and start building things with my full-side construction kit. I think this kit would be a good lead-in to some of the other kits which use a cd or other round thing to make sides. 

By the end of the day I was quite tired but had a clearer picture of how people viewed my models. Well worth it! The trip home was uneventful and not stressful, thanks to the extra load carrying of the crate on the back.


When I got home, I decided to make a milk crate 3d print to go with all my 3d printed bike models and "Tour" and "Challenge" cycling boardgames. Its possible the tv show "Tiny Oz" was an influence. It documents the making of miniature versions of historical Australian events, including the moving of a zoo, and an early balloon flight. Why couldn't my bike trips be documented?


I plan to 3d print a few more parts that will go with the milk crate and other printed bikes including a milkcrate compatible tailbox. Cad for this is done and is shown below. When not on use for the crate, the fin at the top will be a "head fairing" or "neck fairing", designed to reduce the aerodynamic drag of the bike and rider.


 Update May 5 2022

Yesterday I modified the milkcrate file a bit, printed and tested the new tailbox with head fairing. Tonight I uploaded both new files to Thingiverse here , so you can print them too. Newest photos are below. A little bit of load carrying for your little bike! Regards, Steve Nurse